Sunday, July 31, 2011

Sunday Best v.68


I'm totally pumped Kate Spade is coming out with a line of lipsticks, whimsically called supercalifragilipstick! They were designed by Poppy King, the Lipstick Queen, so you know the shades will be versatile and moisturizing.
  • Amazing advice on what to say when someone gets sick.
  • Simple, elegant numbered rings that can be worn alone or layered to signify lucky numbers,  anniversaries or birthdates.
  • A handy guide to who deserves to complain the most about not having air conditioning.
  • The story behind a famous Wilco album cover.
  • How to introduce people.
  • This dad made his kids a mini conestoga wagon! So amazing.
  • OKGo's newest video.
  • A gorgeous family portrait, taken in the rain.

Friday, July 29, 2011

North Carolina-Bound

Globetrotter suitcase from J. Crew.

Sean and I are off to Winston-Salem, North Carolina today for a bridal shower. It's my first time in the Triad, the moniker for Greensboro, Winston-Salem and High Point. The area is basically the American capital of furniture making, so I'm hoping to scope out some antique/thrift stores. Lucky for Sean, we don't have much room in our car to bring back anything big!

Have a great weekend all, and keep a lookout for Sunday Best on Sunday (i forgot last week! bad blogger)!

Wednesday, July 27, 2011

New Uses for Common Items

Since I joined Pinterest, I'm always finding the cleverest "Real Simple"-style new uses for common items. I have yet to actually use any of these tips, but I thought I'd share some of the ones that really blew me away:

Use a hanger to store glasses/sunglasses!

Use a pull tab to hang art!

Use rain gutters as small bookshelves!

Use a tension rod to store spray bottles!

Or, use tension rods to create the perfect slots for platters, cutting boards and pans.

How about you guys? Any super clever use/reuse tricks up your sleeves?

Tuesday, July 26, 2011

Today I Like ... Bloomsbury Style


Did you ever see The Hours? It had little snippets of Virginia Woolf's visits with her sister, painter Vanessa Bell. The sisters were the center of the Bloomsbury set, a group of artists, writers and friends who challenged all the commonly held ideas of their era. Vanessa Bell's home, Charleston House, is an amazing example of unprecious decorating, full of whimsy and personal touches that I wish I had the guts to pull off. Here's some inspiring shots I found on Pinterest.

Bell handpainted the famous paisley wallpaper...I wish they'd sell that pattern! It contrasts beautifully with the comfy white furniture.

The bentwood chair is very modern for its time, and I love the blanket casually tossed over it.

Bell thought nothing of painting on the fireplace. The space is grounded with classic old English antiques, like blue and white vases.

I can't wait to go to England to visit it someday! Perfect country house.

Get the Look
Bloomsbury Set


To get the look in a more budget-friendly way, I'd recommend scouring an antique mall/thrift store for interesting 20th century sculptures, blue and white vases and paintings. I tried to mimic her mix of patterns with the paisley wallpaper, from Home Depot of all places, and the Dwell chinoiserie fabric for curtains and/or pillows.

Monday, July 25, 2011

Weekend Recap and Colonial Inspiration


My in-laws were visiting this weekend, so it was jam-packed with historical site-seeing (kind of our bag here in the Tidewater area of Virginia). I thought I'd share some pics from the weekend, including this shot of the guest room. The last time I shared a picture, it was in terrible night-time light, so I thought I'd show you what it looks like in daytime.

On Saturday, we took the Jamestown-Scotland Ferry from Jamestown to Surry. The ferry is FREE and kind of fun in a weird way! We were headed over to Surry, a place we'd never been, because my mother-in-law had clipped out an article about all the historical sites in the area. Surry and neighboring Isle of Wight County are known for two things: pork products and plantations. Nathaniel Bacon, leader of Bacon's Rebellion lived here.

After our ferry ride, we ate at Surrey House, a classic greasy spoon spot known for its peanut soup (a Virginia delicacy), fried flounder and fried chicken.

Sean DECIMATED his fried chicken platter, complete with a fried apple fritter. I had the fried flounder sandwich, which was also a greasy delight.

Surry just doesn't draw the same amount of visitors that nearby Jamestown and Williamsburg attract, so we were lucky enough to get a private tour of Smith's Fort Plantation, so named because John Smith had every intention of building a fort but more pressing matters, like incredibly bad starvation, needed to be addressed.

I found the house's color schemes and simple, rustic look really appealing, even though I'm typically not into Colonial style. It reminded me of the lovely home of blogger Katy Elliott. Colonists were not afraid of color mixing, as you can see.

Check out those built-ins! So fabulous.

I thought the dark frames around these botanical prints were really elegant, especially against the unpainted wood.

And the blue floral pattern was gorgeous, calming and simple.

I liked the little display of shark teeth and bones on the windowsill...a great idea especially for the deep window sills you'll find in Cape Cod-style homes with dormers.

And last but not least, I was straight up coveting this pink striped wool coverlet...it looked like something you'd buy from Sweden. 

How about you? Is there a historical era that always inspires you most? I usually love midcentury, but I'm also drawn to sort of English country style, like this. Simple and lovely takes the cake for me.

Friday, July 22, 2011

A Gem Exhibit at Home


For months I've been talking about buying a glass box of some sort to show off my gem collection. Let's be clear: this is a useless and perhaps dumb endeavor. Sean probably got a headache from raising his eyebrows so much every time I mentioned it. Buying a fancy box to display my childhood gem collection was, needless to say, not on his list of essential purchases.

A little background: For almost all of middle school, I was obsessed with gems. I grew up going to the American Museum of Natural History in New York every summer, where the gem room was my favorite. I would buy gemstones in gift shops and had books and just generally was crazy for them. In my favorite Boxcar Children book, Surprise Island, the Alden kids created their own natural history museum, displaying feathers and shells and rocks and who knows what else. Ever since (so we're talking since 1993 here), I wanted to do the same thing!

I finally found the right box at ABC Carpet and Home when we were in New York. Sean for sure thought it was a ridiculous purchase, but lookit? Don't my gems look so pretty? One step closer to a museum in my house!

P.S. If you REALLY want your house to look like a museum, check out Paxton Gate. The store in San Francisco is INSANE and looks like Snape's potion classroom or something.

Things You Need to Eat

Things I love that you should try: Trader Joe's mini ice cream cone. Seriously, they're adorable.

My favorite chicken breast recipe: Moroccan-spiced chicken. I served it with storebought tabbouleh, which Sean inevitably hated. I loved it, though!

Homemade pizza (I cheated and used Trader's pizza dough) with sausage, red onions, heirloom tomatoes, fresh mozzarella and fontina cheeses.

Thursday, July 21, 2011

Fierce Nail Polish

I was never a nail girl. Don't get me wrong, I love make-up, but I've always liked my nails nice and short so I can type easily and touch things all the time. I've only recently started habitually doing my nails and trying to keep them nice and polished, so I'm loving all the inspiration I'm finding on Pinterest. Here's some favorite inspirational shots I've seen:

Multicolored French tips, from Black and Blonde One.

Neon tips from Chloe's Nails.

Matte + shiny, from here. I would love to see this with red or navy.

Ombre nails (so pretty and sparkly!), from here.

Subtle sparkle nails, from Food for the Nails.

Wednesday, July 20, 2011

DIY Painted Rug

Many moons ago, I lived in a gorgeous old apartment in a Victorian house and bought a bunch of rugs at IKEA to help warm up the wood floors. Flash forward to modern days: I have wall-to-wall carpet and, unwilling to part with my rugs, I had stashed my natural fiber rug (like the one shown above) under our dining table. It looked awful there, all bunched up and blending in with the carpet, but I just sort of shrugged it off.

So when I told Sean I wanted to buy an outdoor rug for our newly oomphed balcony, he just looked at me wearily and said, "Do we have to?" I was a bit deflated, but then I remembered this:


I saw this painted rug tutorial on Little Green Notebook more than a year ago and it stuck in my brain. Look at those gorgeous chevrons! So lovely.

Apparently, any natural fiber rug can withstand some latex paint, as long as you have patience and some painter's tape. So I decided I was going to make over that cheapie IKEA rug.


First I swept the rug to remove all the bits of fuzz, and then moved it out to the deck. I didn't want to do stripes or chevrons because, as much as I love them, I was craving something different. I decided to do this modified Union Jack-meets-chevrons design. I taped it off (didn't measure! I'm a wild one, for sure) and got to work.


I used Rustoleum's indoor/outdoor latex paint in flat white. I used a cheap white roller to roll on the paint. I must recommend using the smallest roller you can find; it's hard to get the tape to stay in place on the natural fibers and really really easy to accidentally roll into the wrong spot.


If I had it to do over again, I would be more careful about staying in the lines.

I gave the paint about an hour and a half to dry and then removed the tape. The lines, unfortunately, were not perfectly crisp (story of my life) but you have to practically put your nose on the rug to tell. Otherwise, I loved the effect. All told, it probably took 2 hours and cost me $7 for paint, a tiny roller and a small paint tray.

Et voila! It's kind of amazing how just peeking out the window and seeing the rug cheers me up. It definitely gave the porch some personality, and still looks classic and timeless. 

Sean was concerned about weatherproofing, and honestly, I don't know what to expect. I imagine you could try sealing it, but I'm just going to leave it since it's in a covered area.

Tuesday, July 19, 2011

Porch Makeover: A Tragicomedy


My Facebook friends know that over the past week, I began a possibly misguided and maybe doomed effort to rehab this lovely French bistro set by Fermob. It was a freebie we inherited from Sean's parents, who have a matching set at home. It came to us with a little problem area:


This corner had peeled back and rusted (this is after I sanded a little bit). With that little bit of damage, plus a desire to bring some brighter color to our balcony, I decided to spray paint the set. I thought, "What could be easier than spray painting a metal table?" Answer: Many things. Myriad things, even.

I started my journey with a Google search, and read about every tutorial known to man, but especially used one from Centsational Girl. My game plan was this:

  • Sand the table, remove rust as much as possible
  • Find a way to patch the rough spot
  • Spray a primer
  • Sand again, with an extra fine sanding sponge
  • Spray paint in thin, even coats
But as you'll see....it didn't quite add up to perfection.


Per advice from my mother-in-law, I bought a tube of Bondo for about $3. Bondo is used to fill spots and scratches on cars, so we thought it would be perfect for the metal table.


I squeezed out an eensy bit, and used a plastic Bondo spreader to try to even it out, like grout. I then sanded it down. I have to admit, this worked well, but not perfectly. It was very difficult to not have a visible seam where the original paint ended and Bondo began. But once I'd done this step, I was all in.

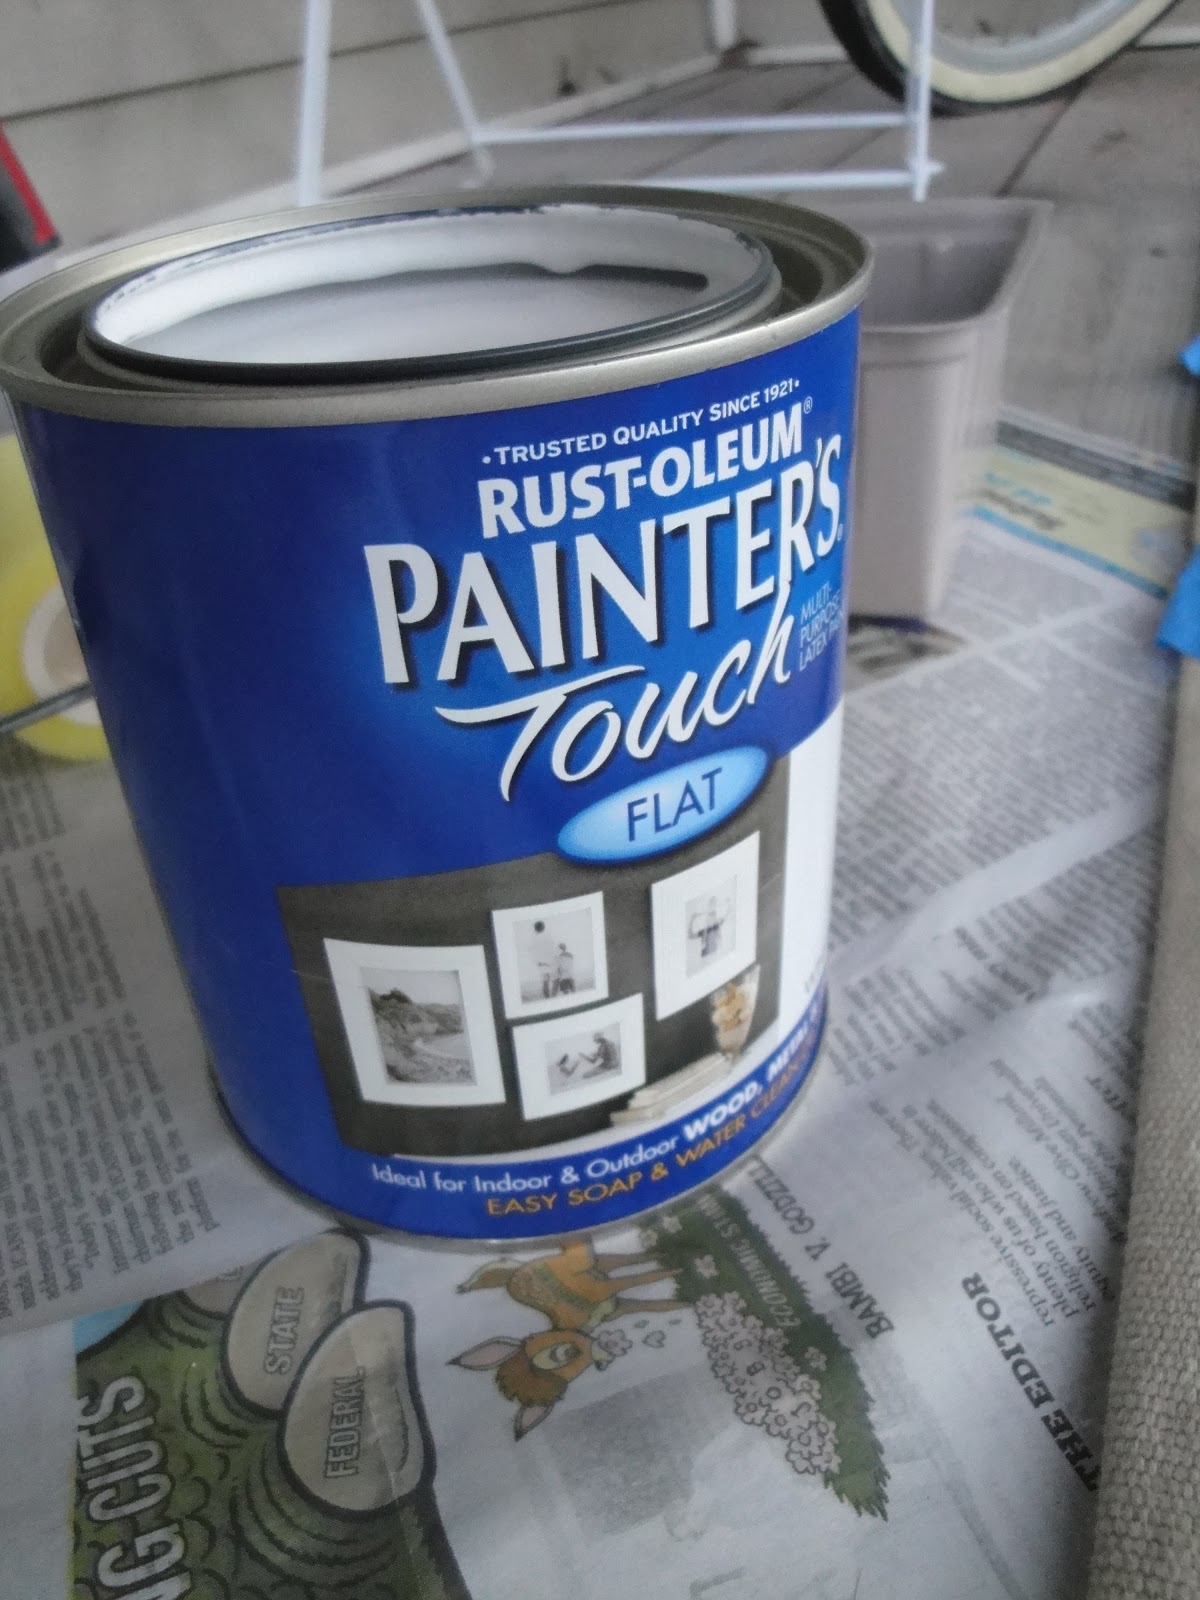
I spray primed with Rust-o-leum's Painter's Touch Extra Coverage white primer. About midway through the can, I noticed it wasn't spraying smoothly...it was coming out in fits and starts, and I started to get a sore trigger finger. This is what most people would call a BAD SIGN, but what bull-headed me considers a mole-hill to climb over.

So I moved on to spray-painting red and um....that doesn't look so good does it? The combination of sore trigger finger and incredibly bad spray painting technique made the top of it look very uneven. I realized WAY later that I made the fatal error of not starting to spray OFF the object and then moving on to it, so you don't get those obvious start and stop places.

So. That's what I was working with. A constant, desperate effort, spanning several days after work (this was supposed to be a weekend project) of trying to get an even coat. Eventually I just called it quits and I think I might do one more coat, just for old time's sake, someday down the line.

It took me a few days, after that debacle, to work up the courage to also potentially ruin the chairs. Something I realized is that spray paint will NEVER deliver the same finish that powder-coated enamel will, so don't even expect it. Fermob sells touch-up mini cans of paint for $20 a piece, which is incredibly cost-prohibitive. So if you want to spray paint a piece like this, know that the finish will never feel quite as glossy as the enamel finish does.

That said, the chairs went MUCH better, partially because of less surface area and partially because of my new handy dandy tool:

I dropped about $6 (on a gift card, so it was actually $0.00 out of my pocket) for a Rustoleum spray trigger gun thingie that I spotted at Home Depot. It was SO WORTH IT. It eliminated any concerns about trigger finger soreness and allowed me to get much more even coverage. It also didn't get paint all over my hands! Totally worth it.

I primed the chairs with the gray primer, since I was going to be painting white and wanted to be able to see the paint as it went on, and they turned out perfect. Except one eensy little problem: I can't get them to fold now. Cue the womp-womp music.

All told, I still think the balcony looks better, especially with my little rug re-do (more about that later). The table isn't perfect ... yet... and if the chairs never fold again, that's a bummer, but I'm still happy with how it looks and I definitely think I learned some important spray-painting lessons. 

Allow me to share Amber's lessons learned:
  1. If it's going outdoors, prime it to prevent rust. And take priming seriously. I didn't worry too much about the underside of the table and you can TOTALLY TELL. It looks patchy and gross. (I seriously might suck at this.)
  2. Put down drop clothes and wear a safety mask. The dust particles get everywhere, so this is definitely an outdoor project, and you'll need a broom to sweep up the remains later.
  3. Buy the spray gun attachment. Seriously, it makes the job so much easier.
  4. Always shake the can first, and start your spray painting just OFF the piece, then move quickly across it. The spray gun thingie helps to make sure you're spreading an even coat, rather than creating thick and thin stripes like I did the first time.
  5. Allow plenty of time to dry.
  6. Be careful not to get too rough with your piece as you move it. I've already managed to ding the paint off in a corner while trying to move the table and banging into the wall. Seriously, I'm a mess.
So that's the tragic and kind of funny story of my porch re-do. I've learned I have the ideas to do my own crafts, but I need to work on my execution...sort of like a gymnast aiming for the Olympics. Gotta stick the landing, you guys!